
Neon X360 Manual
Controller 1: Camera and Scene Selection
The basics: Taking control
You will have noticed that in its basic, automatic mode, Neon changes effect continuously, dwelling on each effect for a short period of time. This is nice enough, but when you're actually using Neon interactively you'll want those changes to occur, and you may wish to dwell longer on a particular effect to observe and explore without having the thing change automatically all the time.
Stage 1: Choosing the effect yourself
Put on some of your favourite music, make yourself a really nice cup of tea, and possibly get some biscuits to go with the tea. Pick up the controller and put the visualiser full-screen by pressing X. Neon will be in the default automatic effect change mode until you tell it to stop, and the way you do that is simply to choose an effect yourself.
You use the d-pad on the controller to change the effect. Once you start changing effects yourself, the auto change mode will disengage and you'll be in full control, only changing the effect when you want it changed. That way you can time effect changes so that they occur at *just* the right time in the music. Even if that's the only interacting with Neon that you do, the result will be a far more coherent and "choreographed" display than could be achieved in any purely passive, noninteractive mode.
Neon's effects are laid out in a matrix - left and right on the d-pad moves left and right in the matrix, and up and down moves between rows. Here is a simple map of how thematrix is laid out. Holes in the matrix are simply skipped over when encountered (you never end up with a blank screen, don't worry).
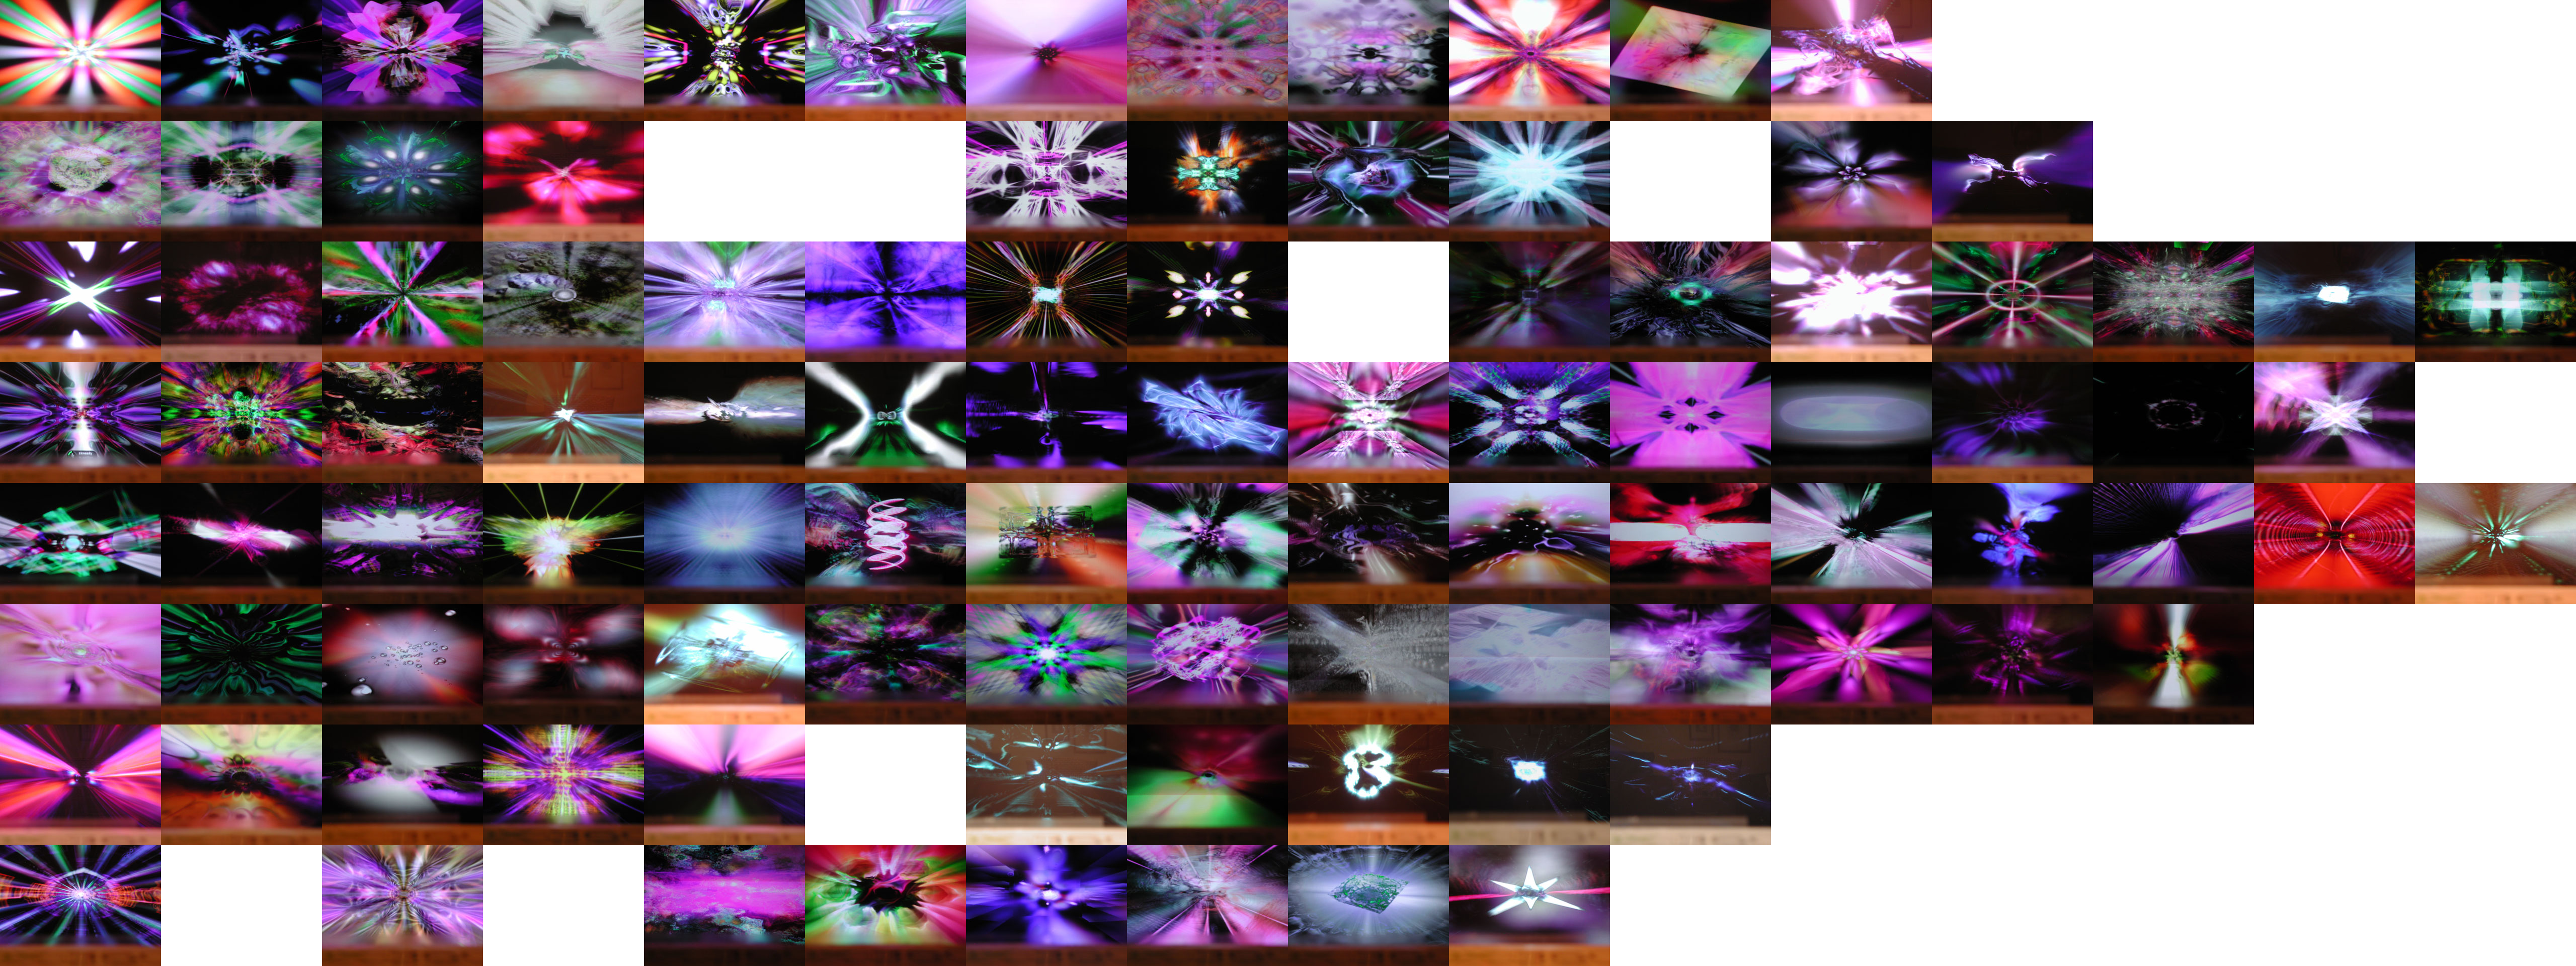
(Larger version is available here).
Spend some time using nothing but the d-pad. Listen to the music, change the effect when you think it feels right to do so, and explore the matrix. Allow the visualisation to dwell on interesting effects so you can see how they respond as the music changes. Drink your tea, have a biccie, chill out and enjoy the experience.
Stage 2: I Am The Camera
If you look at most Neon effects you will notice several things. For one, most of the effects take place in a 3D environment. If you leave the visualiser to do its own thing, you'll see that the camera moves to add a continuously changing dynamic to the scene.
Neon effects are comprised of three kinds of motion. There are motions that occur as a direct response to the audio at any given instant - elements that throb, intensities that pulse. There are motions that are constant regardless of the audio input - tunnels that move at a particular speed, structures that tumble and rotate constantly. And then there are motions, such as those of the camera, which Neon attenpts to trigger at "significant" moments in the music, such as when there is a peak in a certain frequency range. Once triggered, these motions progress to completion and then await another trigger. If the music is particularly "busy" then these motions may link together one after another, and when it gets quiet, these motions will stop and, in the case of the camera, allow the scene to come to rest.
Many of these motions can be overridden by users with controllers (although some will remain purely audio-driven). The result is that users together can "play" Neon in order to create a visual accompaniment to the music which is far more subtle and interesting than anything that any automatic visualiser can produce. When you control Neon in this way it involves you directly in the creative process - *you* interpret the music yourself through Neon, according to how you "feel" the music. You'll find that it is far more rewarding than simply watching a passive visualiser. When you use more than one controller, and get together with your mates to play Neon between you, you'll find that it gets even more rewarding than playing it alone. This is something that can't really be explained - you'll just have to try it and experience it for yourself.
But let's begin at the beginning. The single most obvious influence on any scene is that of the camera dynamic, and this is what you control if you only have one controller connected. "Controller 1" is the single most significant control in interactive Neon, since it allows you to change the effect (by using the d-pad as already explained above) and to control the camera dynamic directly.
For the moment, let us consider just the left analog stick on controller 1. Pick up the controller and use the d-pad to navigate to an effect that you like - one of the tunnel effects is probably a good choice, since it's especially obvious what you're doing with those. Now start playing with the left-hand analog stick while you watch the effect.
You should see that the y-axis of the left analog stick works as a "zoom", changing the field of view of the scene. Pressing up will zoom the camera right in (in a tunnel scene, this will make the tunnel appear to get wider and the speed of transition down the tunnel will look slower) and pulling down will zoom the camera out, so that the tunnel appears stretched and thin and the walls appear to go by much more quickly.
The x-axis of the left analog stick rotates the camera around the z-axis - effectively it allows you to "roll" the scene around. Hold the stick left or right to spin the scene clockwise or anticlockwise.
Now, just spend a bit of time using nothing but the d-pad to change effect, and the left analog stick to control the zoom and rotation of each effect. Get used to using the analog stick, and see how gentle actions can produce very subtle motions. Neon responds well to a gentle touch . Play around with a bunch of different effects, and get used to how the camera responds in each scene. Again, simply have fun, relax, and use the analog stick and d-pad to move and change the effect as you feel is right. There are no rules here - just experiment and enjoy yourself.
Once you're comfortable with that, it's time to address the right analog stick. Since most of the scenes are in 3D space, it's possible to rotate the scene around axes other than the z-axis, and that is precisely what the right stick does.
Choose another favourite effect (once again, a tunnel one is good for the purposes of seeing clearly what's happening). This time, leave the left analog stick alone, and try moving the right analog stick gently up or down. You should see the scene start to tumble end-over-end, with the speed of the motion dependent on how far you displace the stick.
Play with that for a while, then either bring the scene to rest facing one "end" of the tunnel or let go of the stick for a few seconds (if you let go for more than a few seconds, the automatic camera control will cut back in (provided the music is stromg enough to drive the camera transitions)). Then try the same thing but moving the right analog stick to the left or right - you should see the scene spin from side to side. Once again play with this for a while to get used to it.
It is, of course, quite possible to spin the scene on more than one axis at once by moving the right analog stick in both x and y at the same time. This is fun, but you may find that you find yourself "off-axis" with the scene skewed, and find it a bit tricky to get back to a satisfyingly centred viewpoint. If this happens, simply let go of the stick and allow the automatic controls to kick in and "square things up". You can take back over from the automatic control at any time simply by using either of the analog sticks yourself.
By now it must surely be time for another cup of tea, so go and put the kettle on and make a fresh cup. Then sit down for a nice long session, going through the effects and using the camera controls you have learned.
Some tips for controller 1:
- Don't go overboard with effects changes. Save effect changes for properly significant moments in the music, rather than using the d-pad to change effect every five seconds. This allows you (and anyone else playing with you) to explore each effect more fully, to see how it responds as the music changes, and allows multiple players to "settle in" to their controls for each effect. Remember that as controller 1 you have the responsibility of directing the whole Neon performance for everybody involved, both other users and those watching.
- Be gentle! Sometimes lovely, slow transitions can be very effective. Don't waggle the sticks like a madman unless you really think the music needs it .
- Especially when learning, use the controls selectively. Don't just waggle randomly on the right analog stick - you'll probably end up off-axis or staring at a wall. Try combining specific transitions and exploring within their parameter space - for example, try initiating a gentle vertical rotation of a scene by using the right analog stick up or down, then gently use the left stick up and down to zoom into and out of the scene as it spins. Learn to vary the transitions that you use according to how you feel the structure of the music. And if you get lost, try pushing down on the left analog stick to zoom the scene out - you may have a better idea of "where you are" from the wider vview of the scene. If you still can't "find yourself", just let go and allow the automatic controls to straighten things out for you. You can take over again once everything is realigned.
That's it for controller 1 - which will be everyone's first introduction to interactive Neon. There is much more you can do, but for that you'll need more than one controller. In the next part we'll move on to controller 2, which is one of the most important and powerful controls in all of Neon, and has the capability to change the nature of the display far more than any other control in the system.
Now proceed to Controller 2: Feedback
More >>>